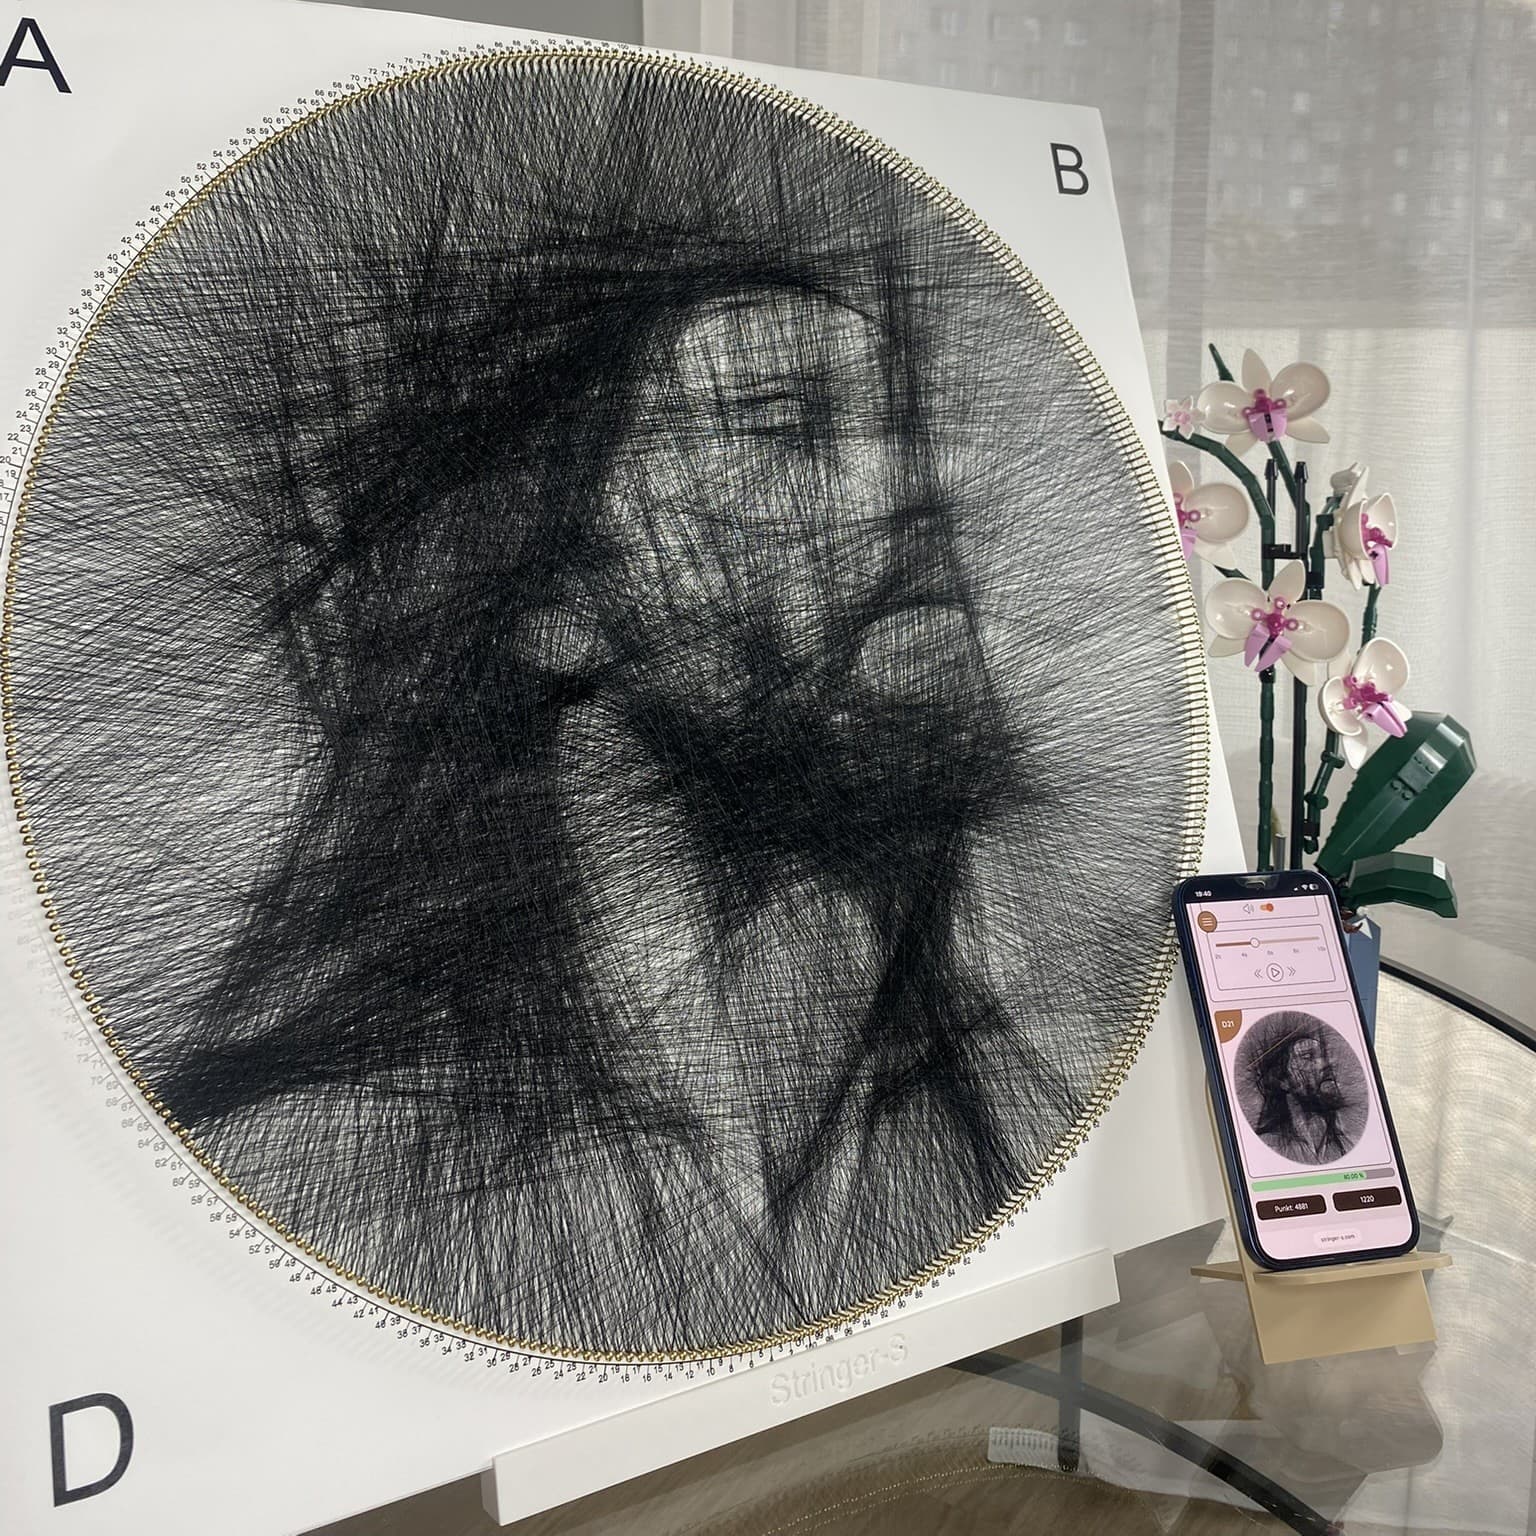
Increase Correction for an overly dark image, use Mark for missing facial areas, and remove a background that dominates the subject.
Pattern too dark: increase Correction
Correction controls how strongly the thread covers the image. Lower values create a darker result, so increase the value when the preview looks too heavy or black.
Change it gradually and generate another version. A large jump can also wash out important facial features.
- increase Correction by one small step
- generate a fresh preview
- compare the face, background and darkest areas
Facial details disappear: use Mark
If a cheek, nose line or another facial area is underrepresented, return to Mark and select those exact places. This tells the generator which regions need stronger coverage.
Use the same method when the eyes or mouth are faint. Mark the missing areas instead of darkening the whole image with Correction.
- mark only weakly covered areas
- focus on eyes, mouth and the nose outline
- compare the preview again
Background dominates: remove it
When the background attracts too many lines, removing it before generation is the most reliable solution. Correction affects the entire image and cannot properly separate the subject.
Upload the edited photo with a similar crop and compare both versions. More connections can then be devoted to the main subject.
Compare one change at a time
Do not change Correction, point count and markings together. One change at a time shows which decision improved the pattern and makes earlier versions easier to recover.
FAQ
Frequently asked questions
Will increasing Correction always improve the face?+
No. It lightens the whole pattern. If only the eyes, mouth or part of the face is missing, use Mark.
Should I mark the entire face?+
No. Focus on areas with weak coverage. Precise markings provide more control than selecting the whole subject.