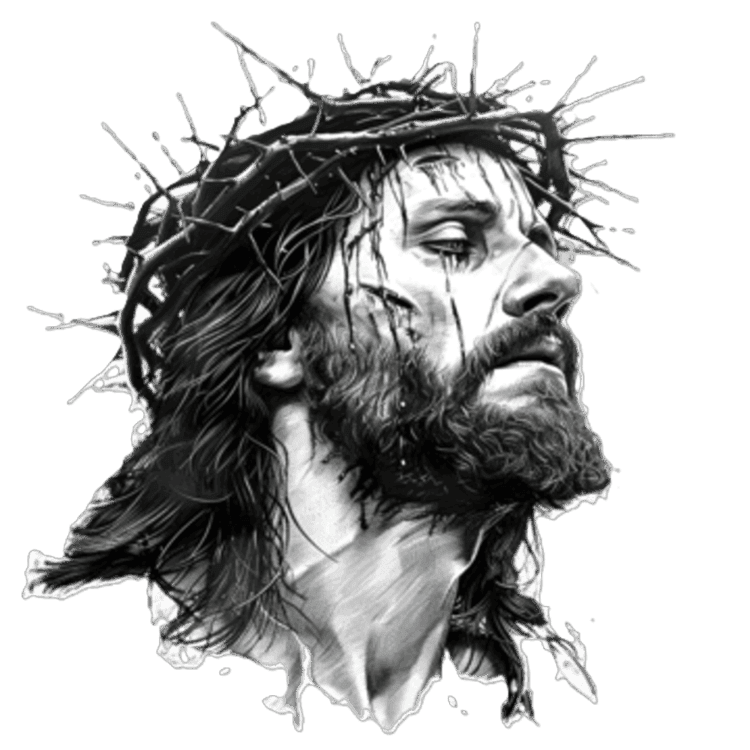
 String Art: Jesus ChristPhotoString Art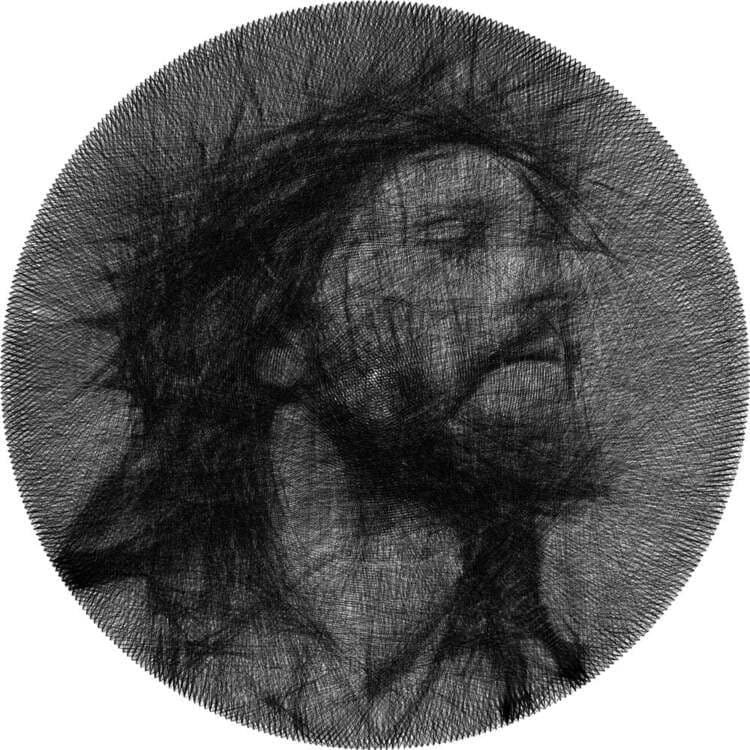
Jesus Christ
50cm · 400 points · 7500 lines
Free browser-based generator
First, see how the photograph looks when rebuilt with a single thread. Once you choose the best version, the generator prepares the connection sequence you need to make the piece.
To make the generator process the photo correctly, go through 3 sections. In each one you will find a question mark in the top right corner – click it to see details and editing tips.
Quick shortcut
Crop the photo correctly.
Mark elements to keep or remove.
Choose settings and generate the project.
Photo preview
You can choose our preset settings or define your own below.
Preview image size
Thread thickness
Number of points
DPI
Mask weight
Correction
Your versions
0 saved · select up to 3 to compare
No versions - click -Generate- to add your first.
Select versions on the shelf to compare them side by side.
String Art: Jesus ChristPhotoString Art50cm · 400 points · 7500 lines
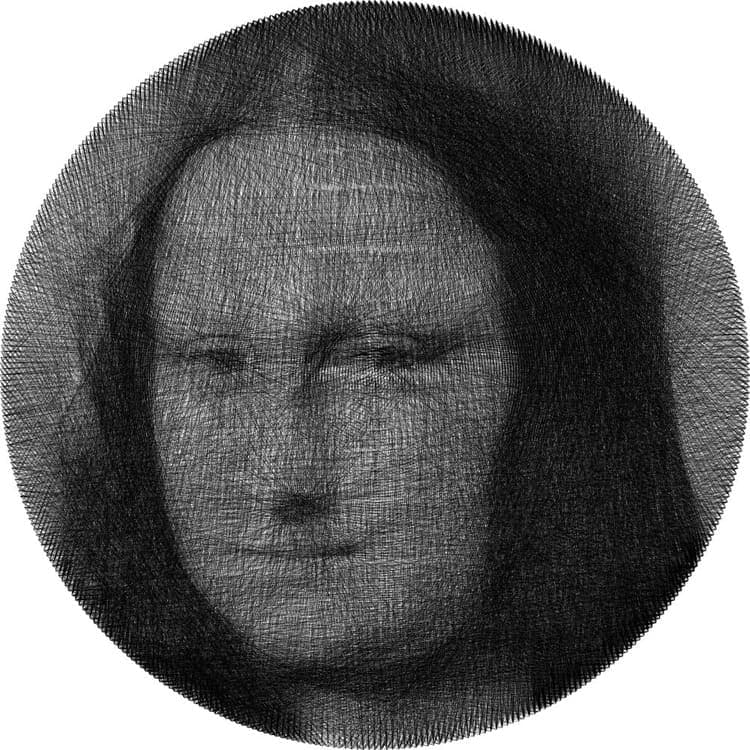
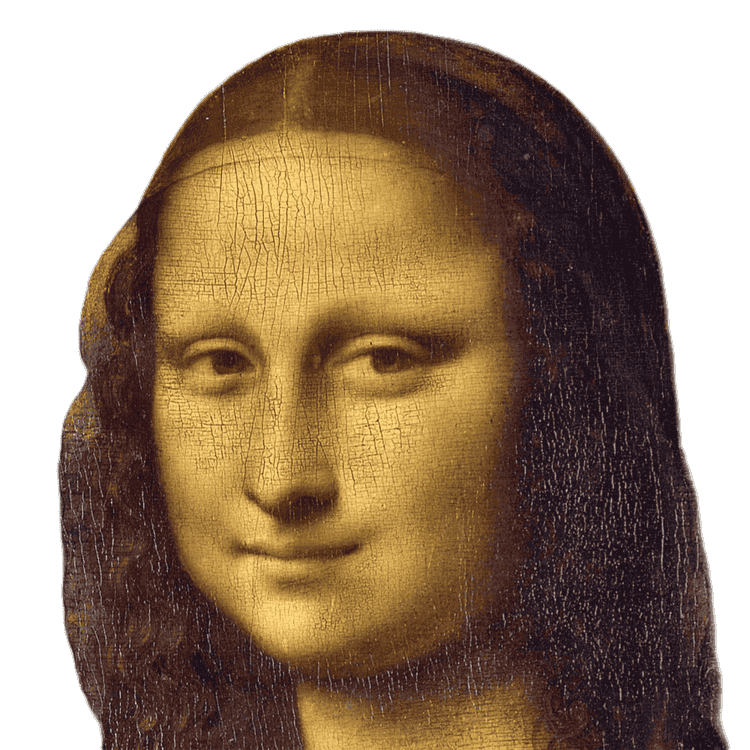 String Art: Mona LisaPhotoString Art
50cm · 400 points · 7300 lines
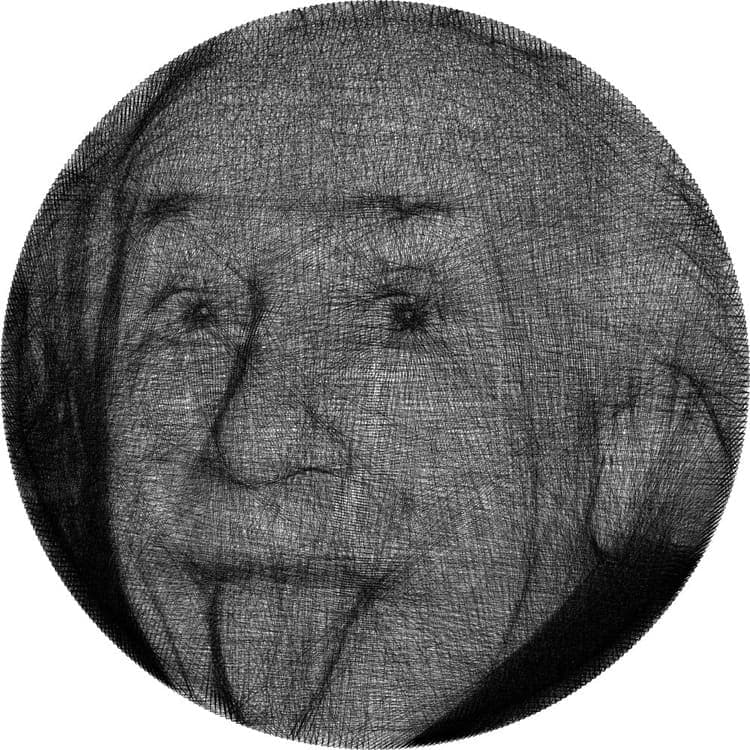
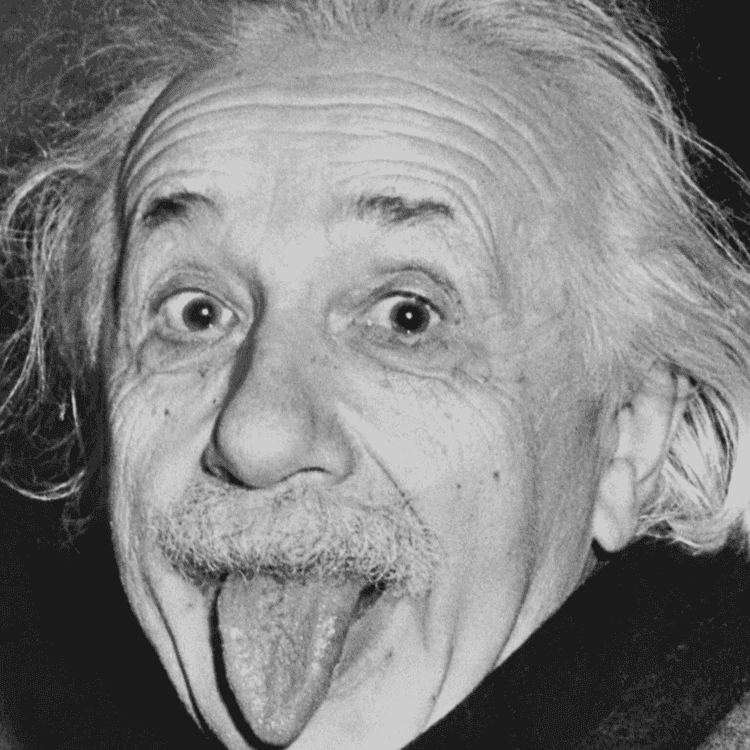 String Art: Albert EinsteinPhotoString Art
50cm · 400 points · 6772 lines
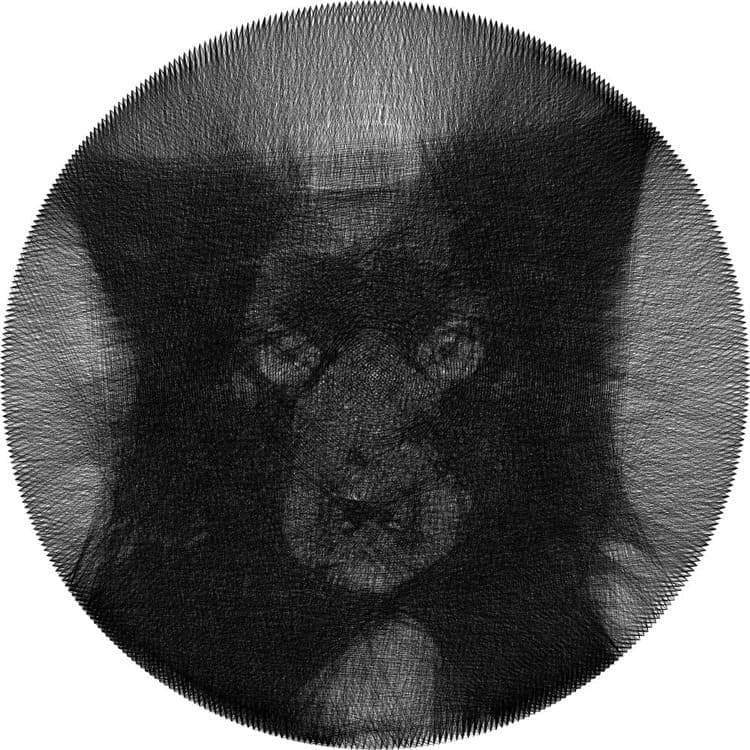
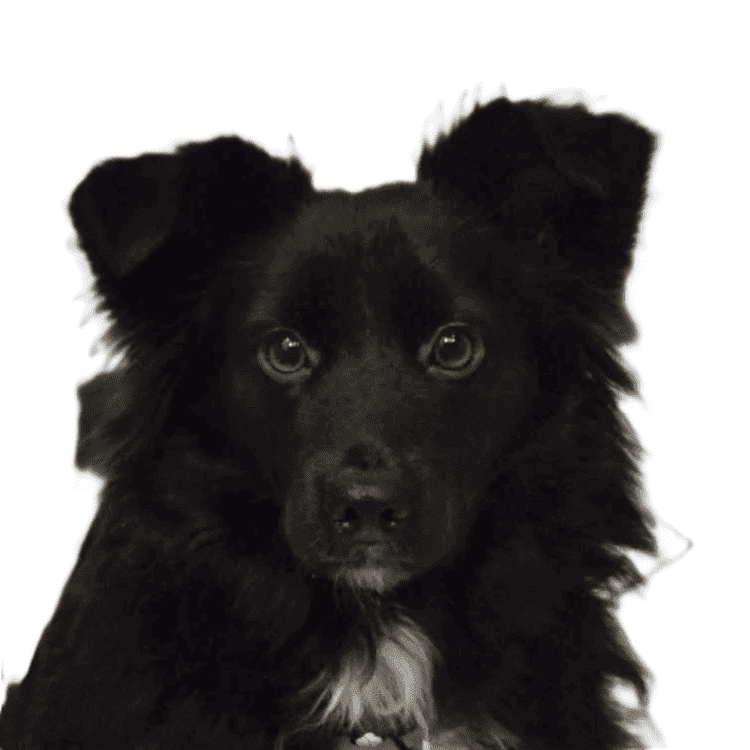 String Art: LunaPhotoString Art
50cm · 400 points · 7582 lines
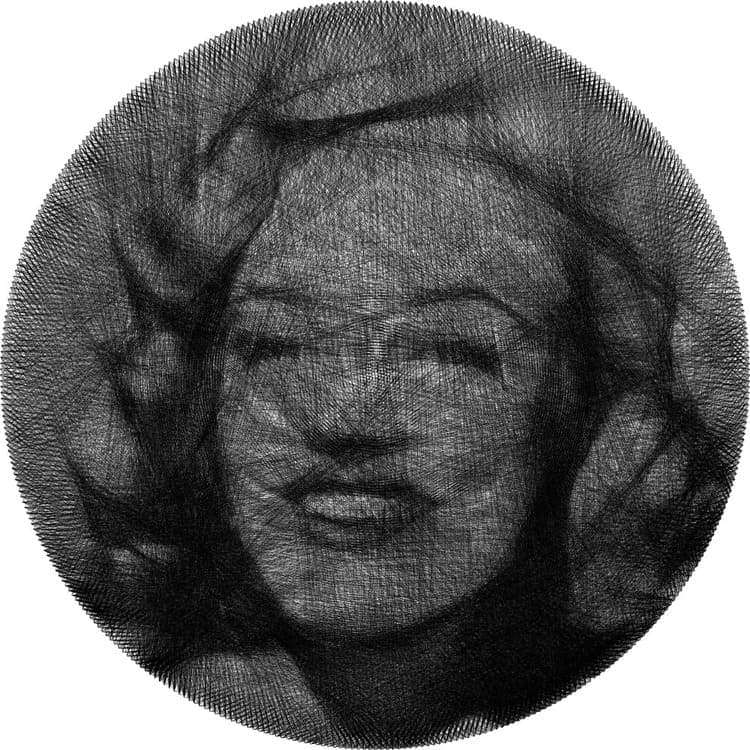
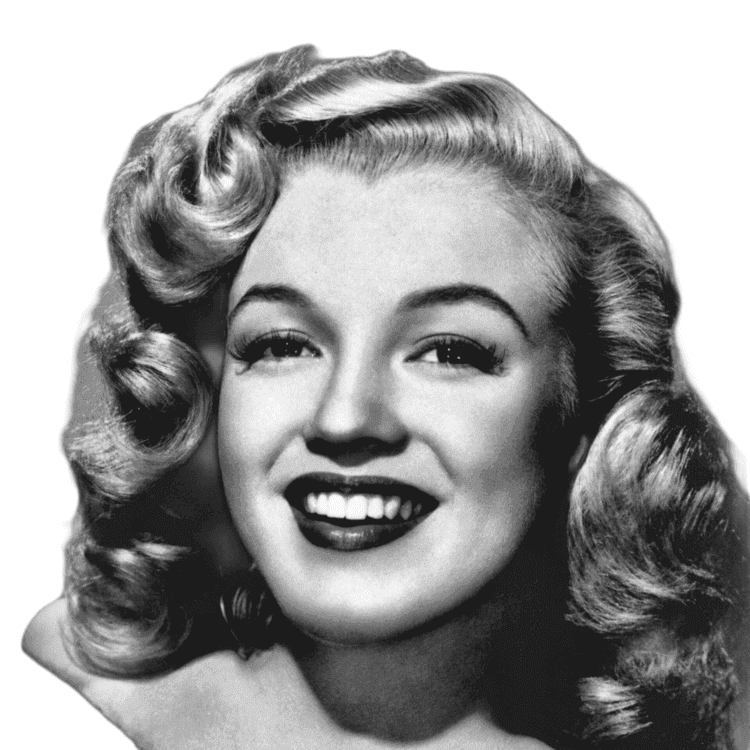 String Art: Marilyn MonroePhotoString Art
50cm · 400 points · 7452 lines
1
A portrait, pet, silhouette or simple object usually gives the best start. Upload it directly in the browser without installing software.
2
A calm background leaves more lines for the face or main subject. Remove it and immediately check whether the outline is still readable.
3
Adjust contrast so the important features do not disappear in shadow. The preview responds to each change, so you can judge the effect as you work.
4
Points are placed around the perimeter and the tool searches for the next useful connection. This gradually builds a route based on your image.
5
The image appears line by line. If a version feels too dark, too sparse or unclear, return to the settings before reaching for the thread.
6
Once the project is ready, follow the displayed sequence. You can pause, go back one step and return to the work when it suits you.
A portrait, pet, silhouette or simple object usually gives the best start. Upload it directly in the browser without installing software.
A calm background leaves more lines for the face or main subject. Remove it and immediately check whether the outline is still readable.
Adjust contrast so the important features do not disappear in shadow. The preview responds to each change, so you can judge the effect as you work.
Points are placed around the perimeter and the tool searches for the next useful connection. This gradually builds a route based on your image.
The image appears line by line. If a version feels too dark, too sparse or unclear, return to the settings before reaching for the thread.
Once the project is ready, follow the displayed sequence. You can pause, go back one step and return to the work when it suits you.
Look at the photo at a small size. If the face, silhouette, or main subject is still easy to recognize, you have a good starting point. You can judge the rest in the preview before spending time and thread.
1
A clear difference between light and dark areas helps the lines build shape. A soft, flat image usually needs stronger adjustment.
2
A plain or gently blurred background leaves more room for the subject. Lots of small background elements can turn into stray lines.
3
A portrait of one person, an animal, or a single object is easier to read than a group photo. For a wider shot, crop down to the part that matters most.
4
Completely black areas contain no information about texture or facial features. Try lifting the shadows slightly and check whether detail returns.
5
A straight-on or slightly angled portrait usually keeps the eyes, nose, and mouth readable. Those features are what make the final portrait recognizable.
A clear difference between light and dark areas helps the lines build shape. A soft, flat image usually needs stronger adjustment.
A plain or gently blurred background leaves more room for the subject. Lots of small background elements can turn into stray lines.
A portrait of one person, an animal, or a single object is easier to read than a group photo. For a wider shot, crop down to the part that matters most.
Completely black areas contain no information about texture or facial features. Try lifting the shadows slightly and check whether detail returns.
A straight-on or slightly angled portrait usually keeps the eyes, nose, and mouth readable. Those features are what make the final portrait recognizable.
 Light separates the subject from the background
01
More points give the thread more anchor positions and more freedom to shape features and edges. A lower count creates a simpler, more graphic result and usually shortens the making time.
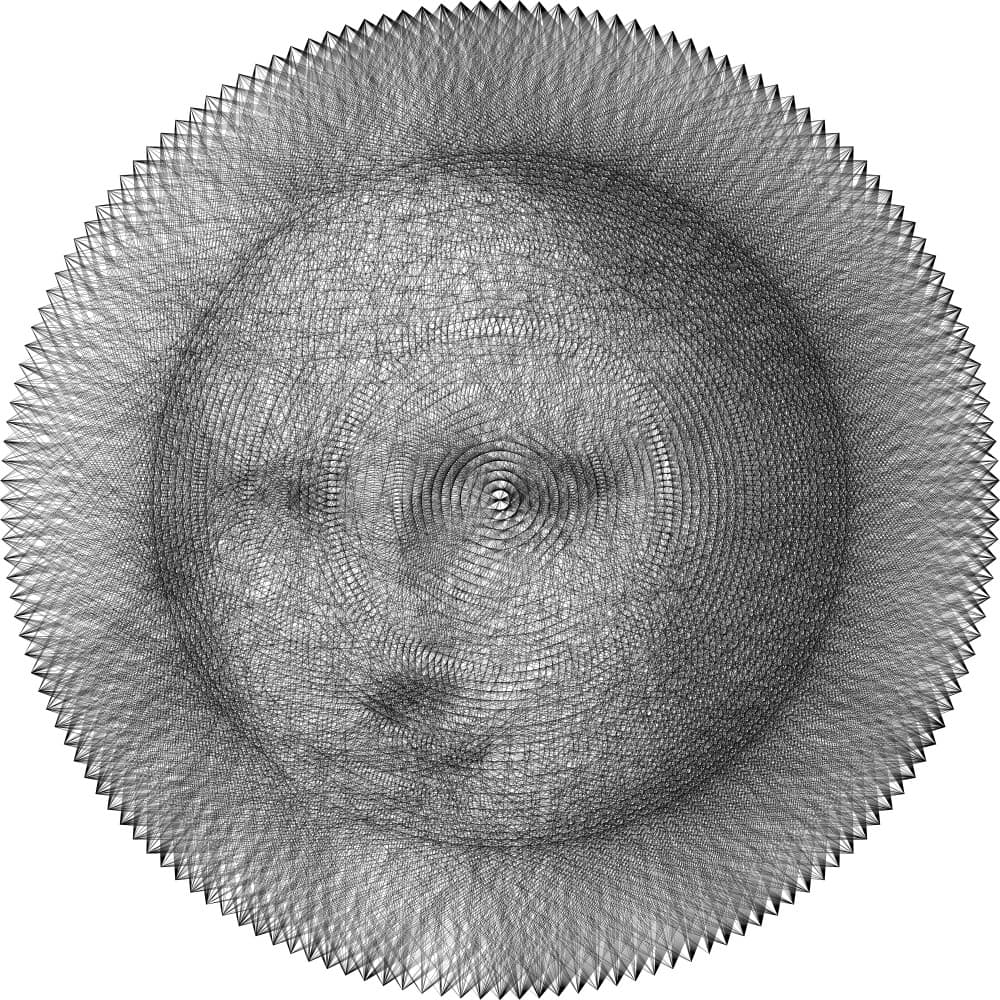
Simple outline
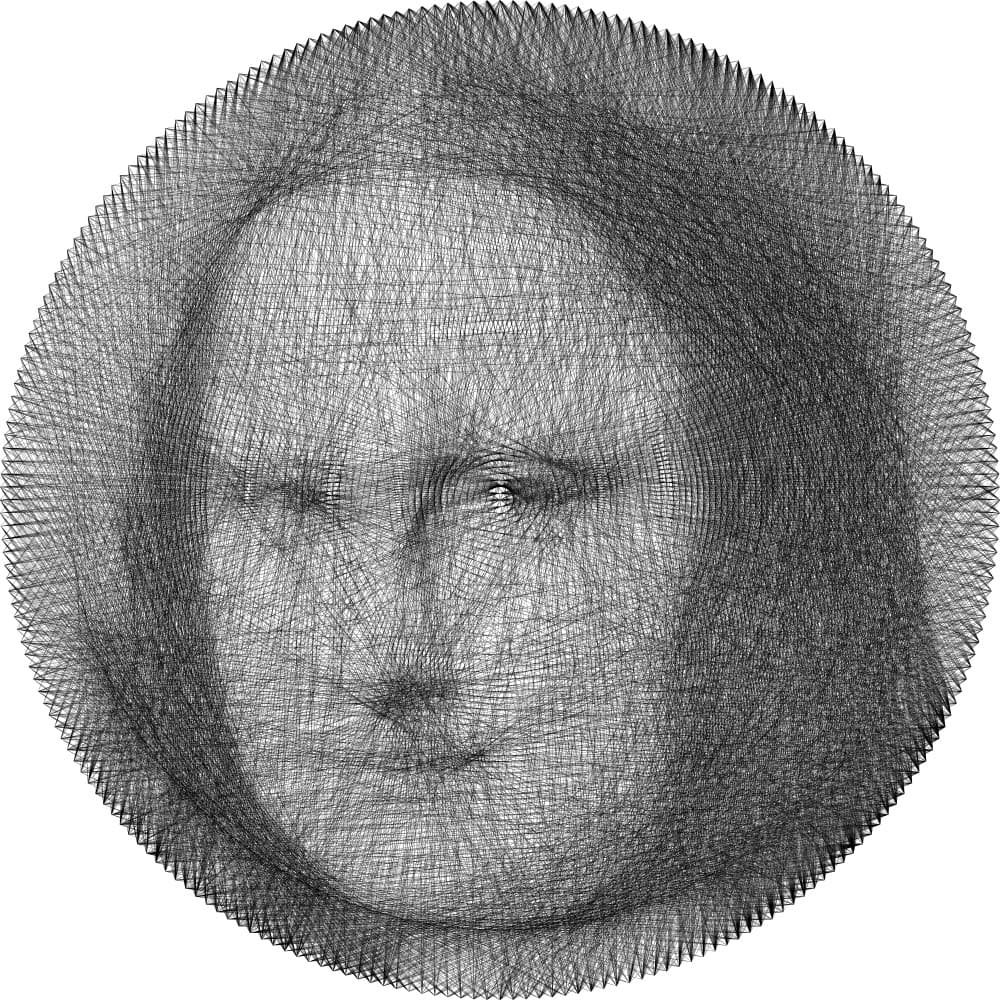
Clear detail
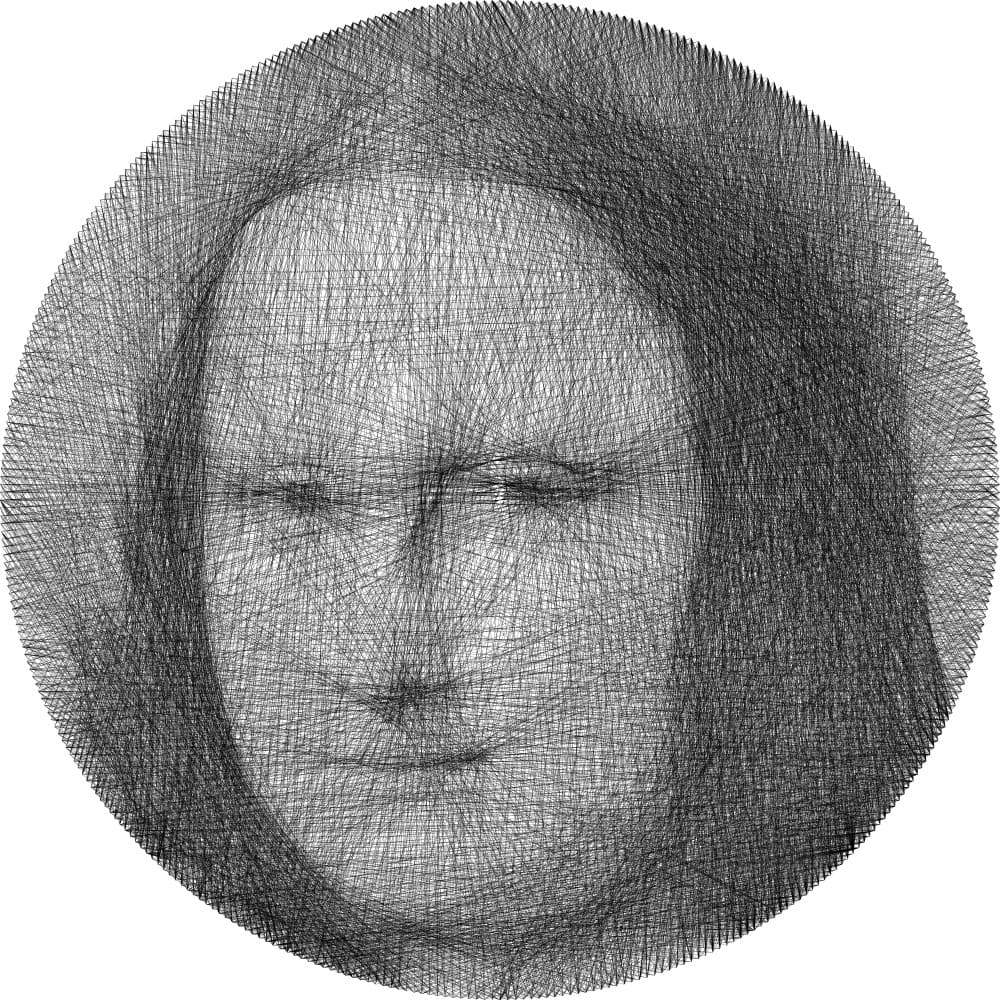
Dense detail
02
With gentle coverage, shadows grow through many light passes. Stronger coverage builds contrast faster, but subtle midtones are easier to lose. The preview shows the difference immediately.
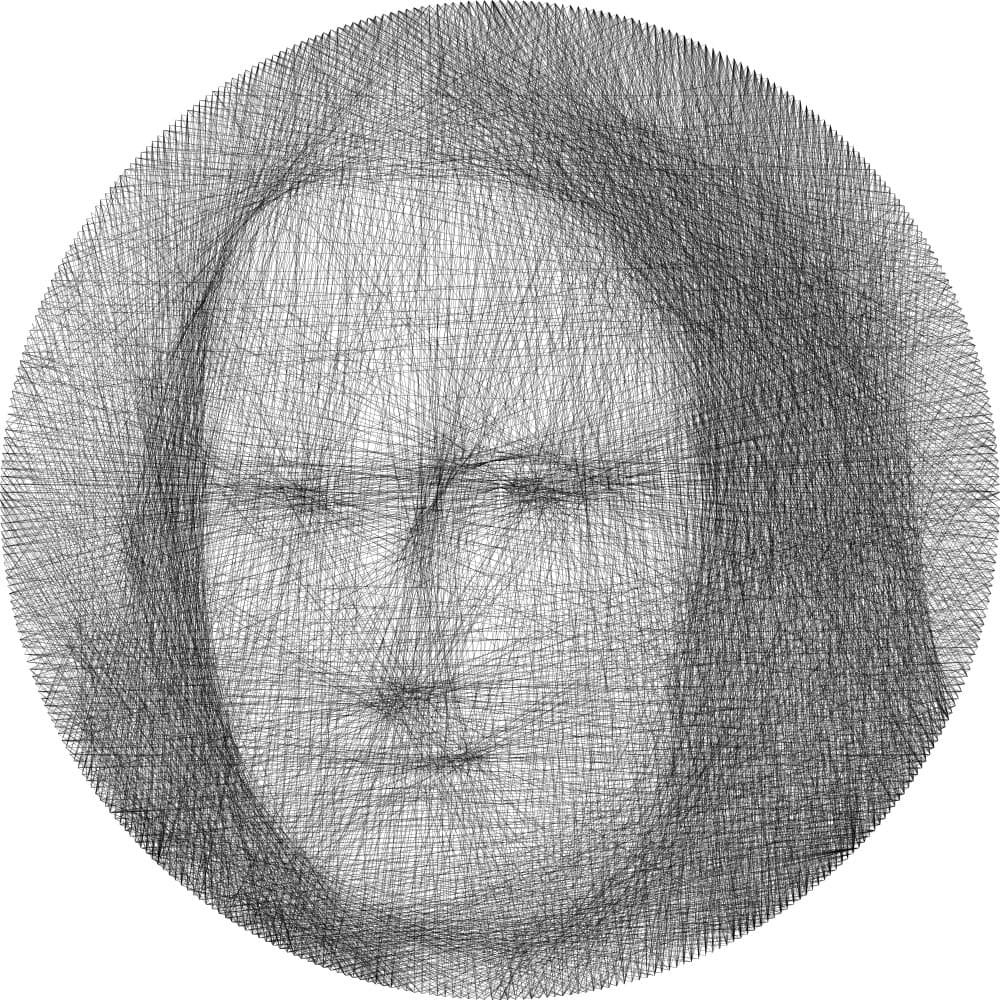
Gentle coverage
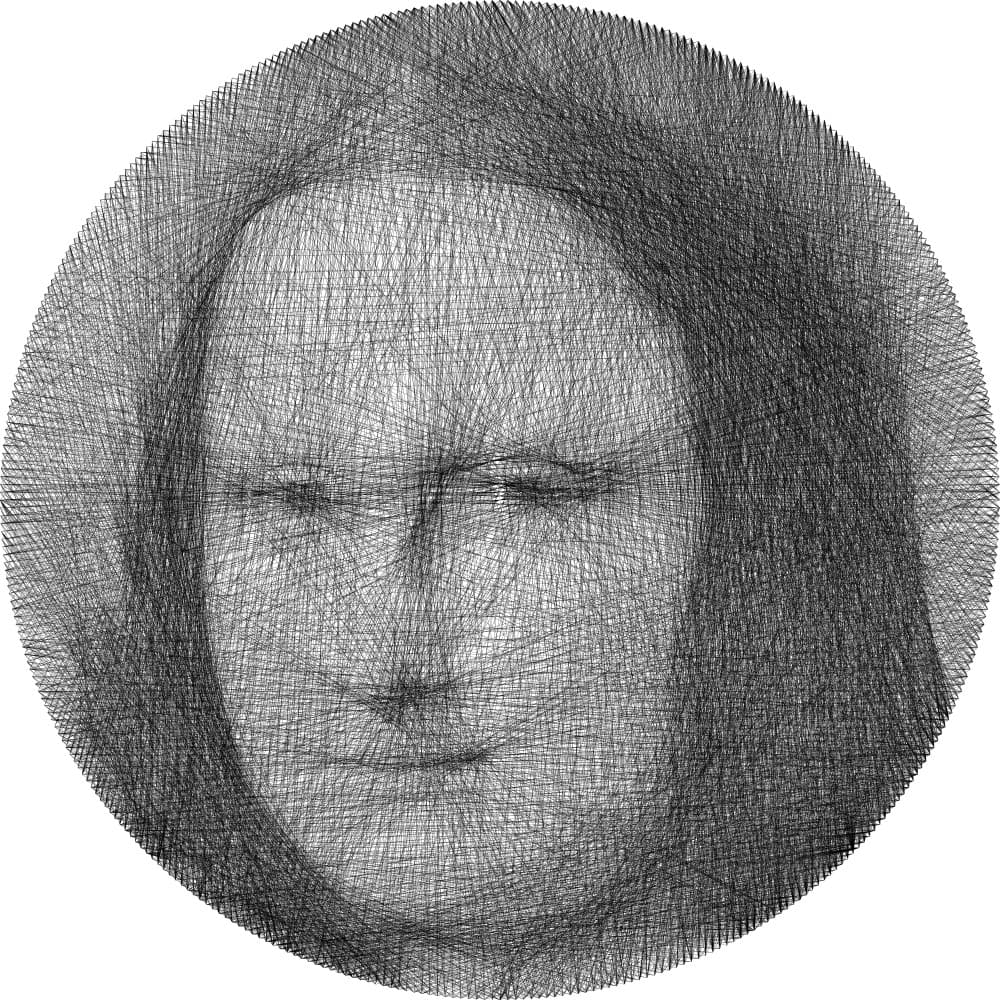
Balanced
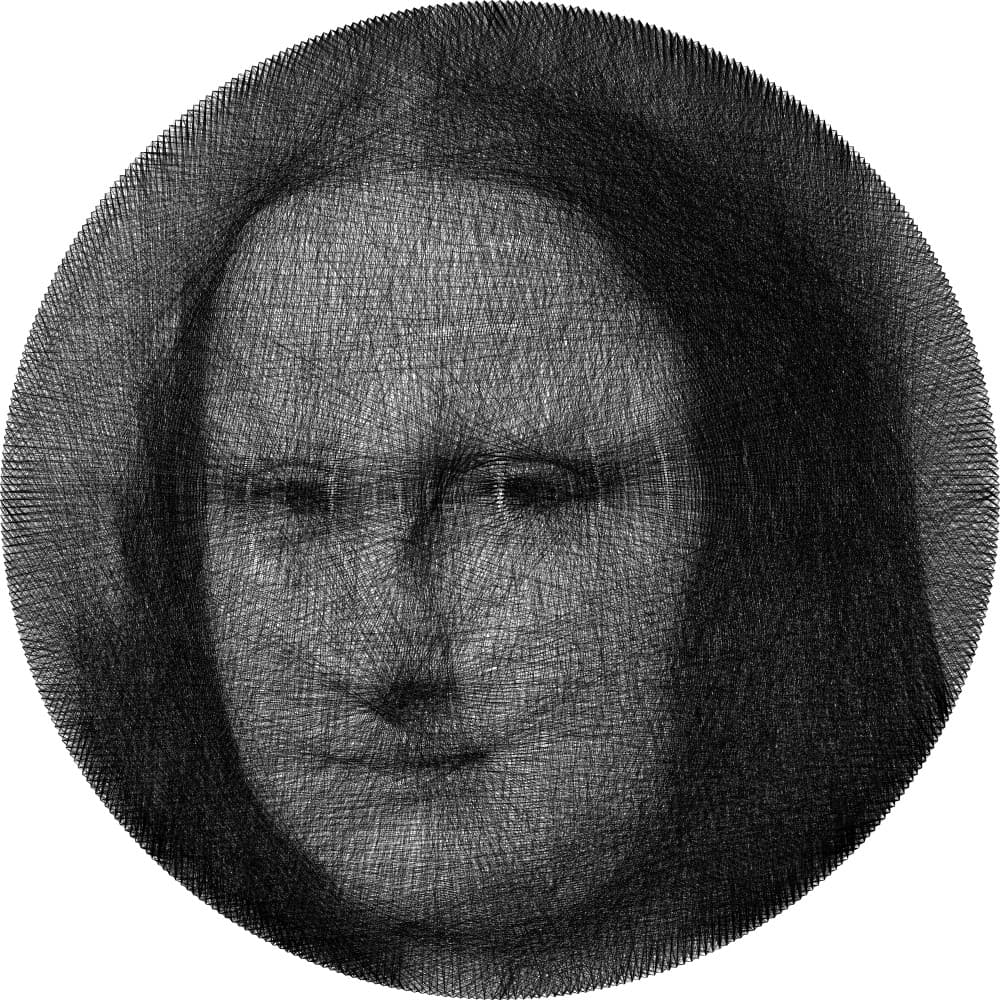
Strong contrast
03
Use the mask to keep selected areas especially clear, such as the eyes or mouth. A light touch works best, so one feature does not pull too much thread away from the rest of the face.
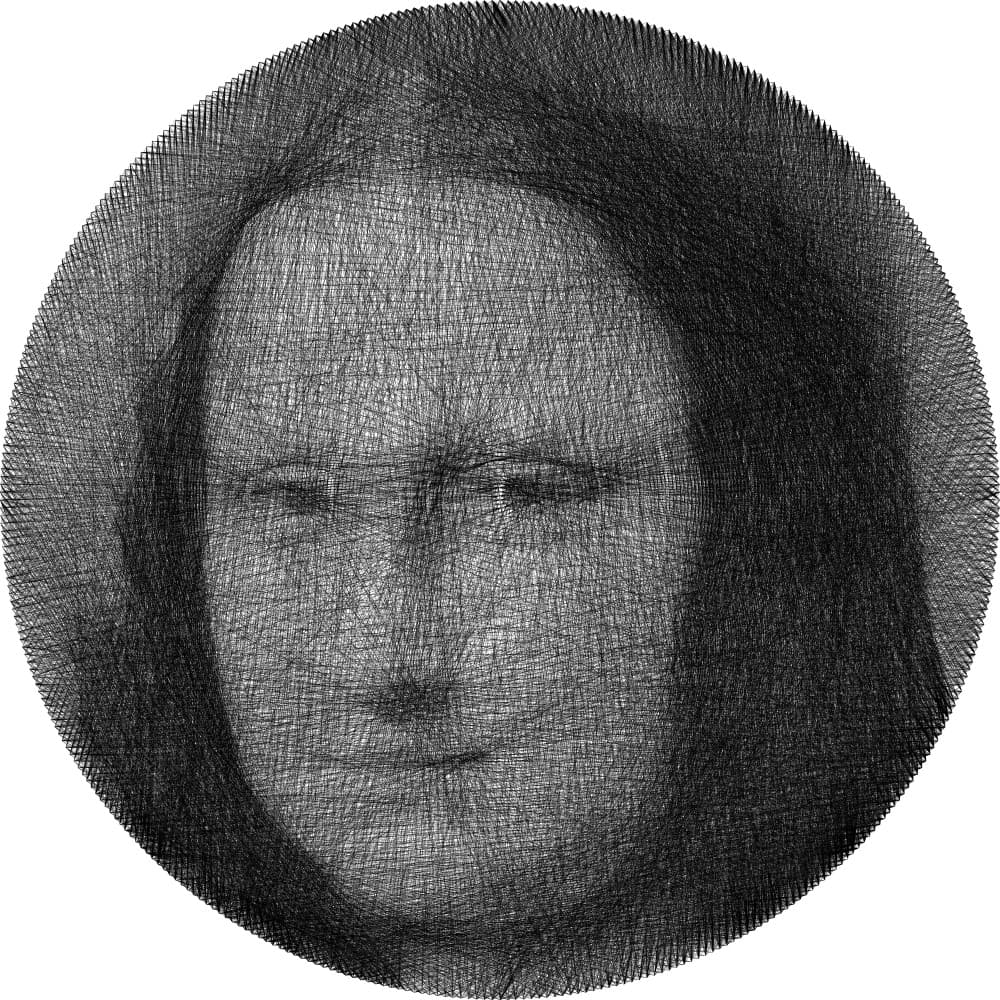
No emphasis
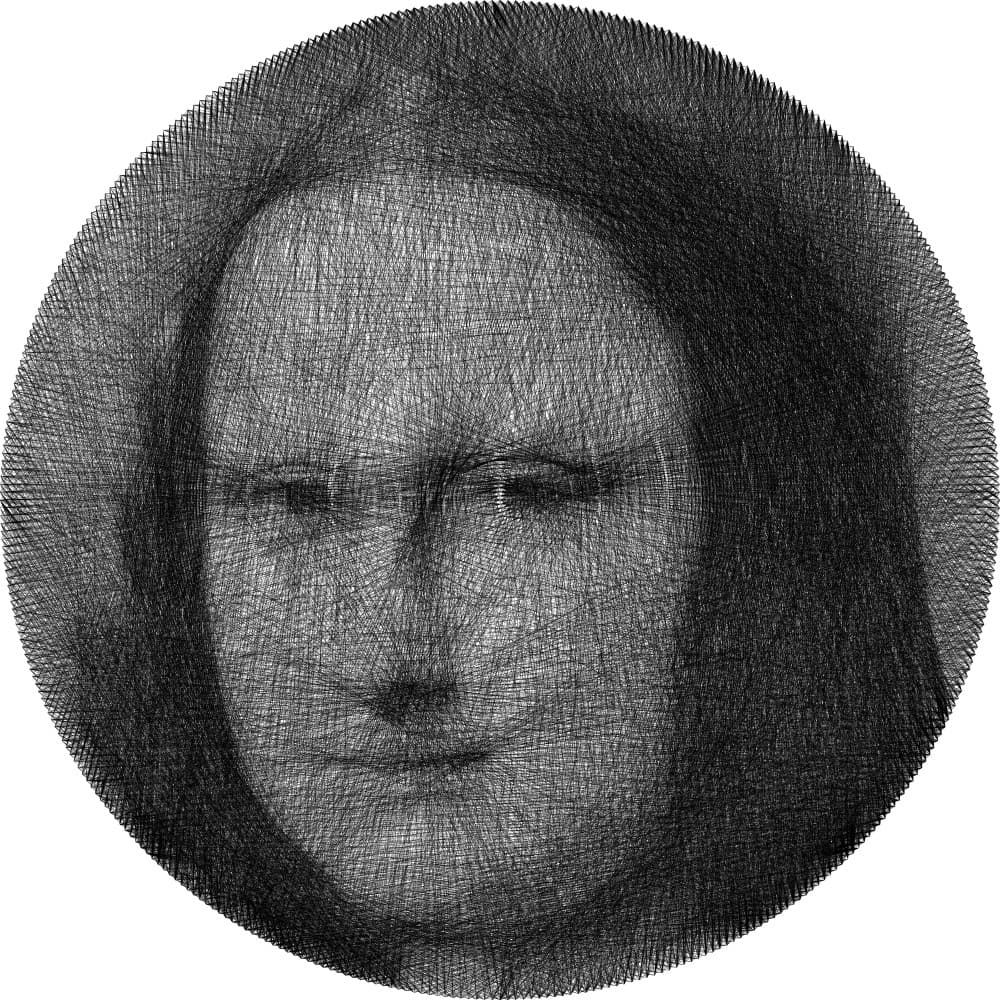
Light emphasis
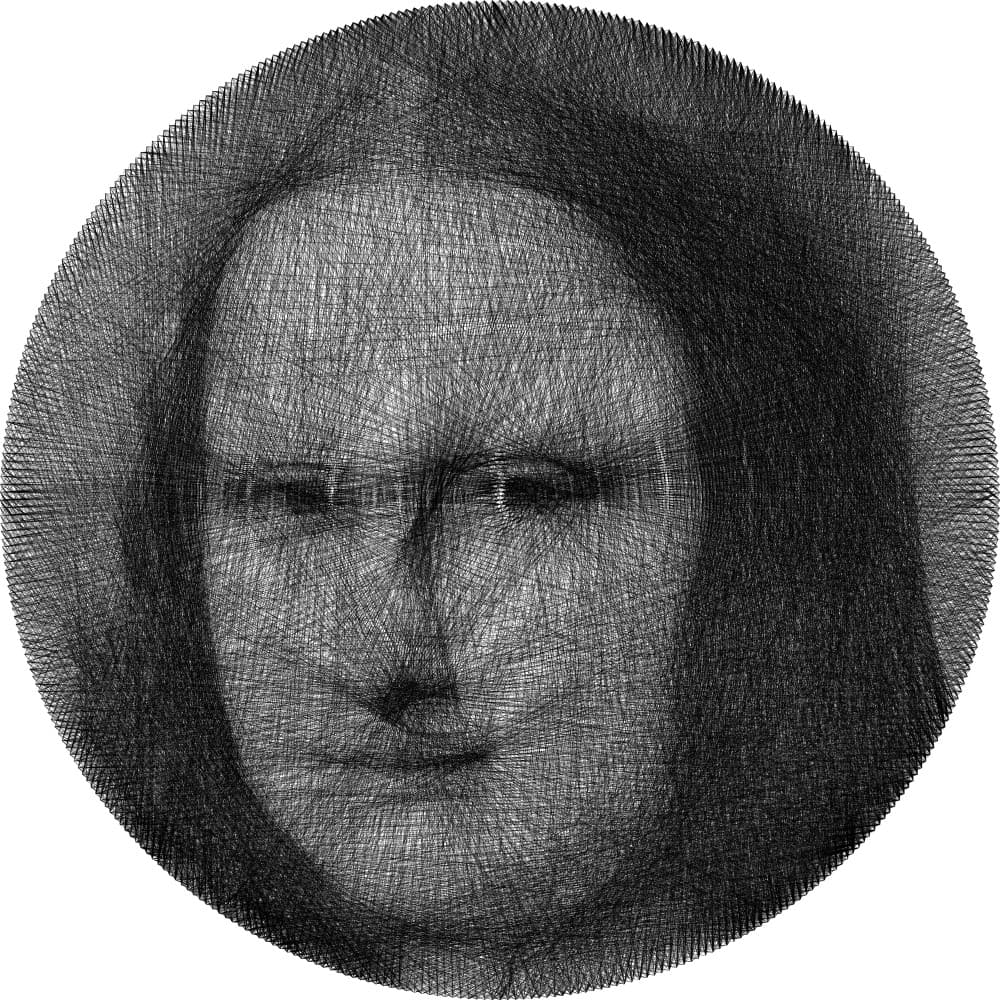
Strong emphasis
Increase Correction for an overly dark image, use Mark for missing facial areas, and remove a background that dominates the subject.
Read the guideThe generator pairs 30 cm with 240 points, 40 cm with 320, 50 cm with 400 and 60 cm with 480.
Read the guideYou do not need a professional camera. Clear light, a readable silhouette and a subject that does not disappear into the background matter more.
Read the guideThis is not a simple photo filter. The tool analyzes the light and dark areas of the image, then looks for successive connections between points around the perimeter. The preview shows the planned result, while the instructions turn it into something you can make by hand.
1
Points around the perimeter are fixed anchor positions. Their number affects how many small shapes the thread can reproduce.
2
Each pass gently darkens part of the image. Only many overlapping lines create shadows, facial features and a sense of depth.
3
You can change the photo and settings before using any material. An unsuccessful version costs a few clicks, not hours of winding.
4
The tool checks which next connection will bring the preview closer to the photograph. This creates a deliberate sequence instead of a random tangle.
5
The screen shows the current point and the next step. You can focus on keeping the thread even instead of decoding the entire pattern yourself.
1 thread, kilometers in a single image
4 to 12 hourson average per pattern
160 – 480 nail points on the perimeter
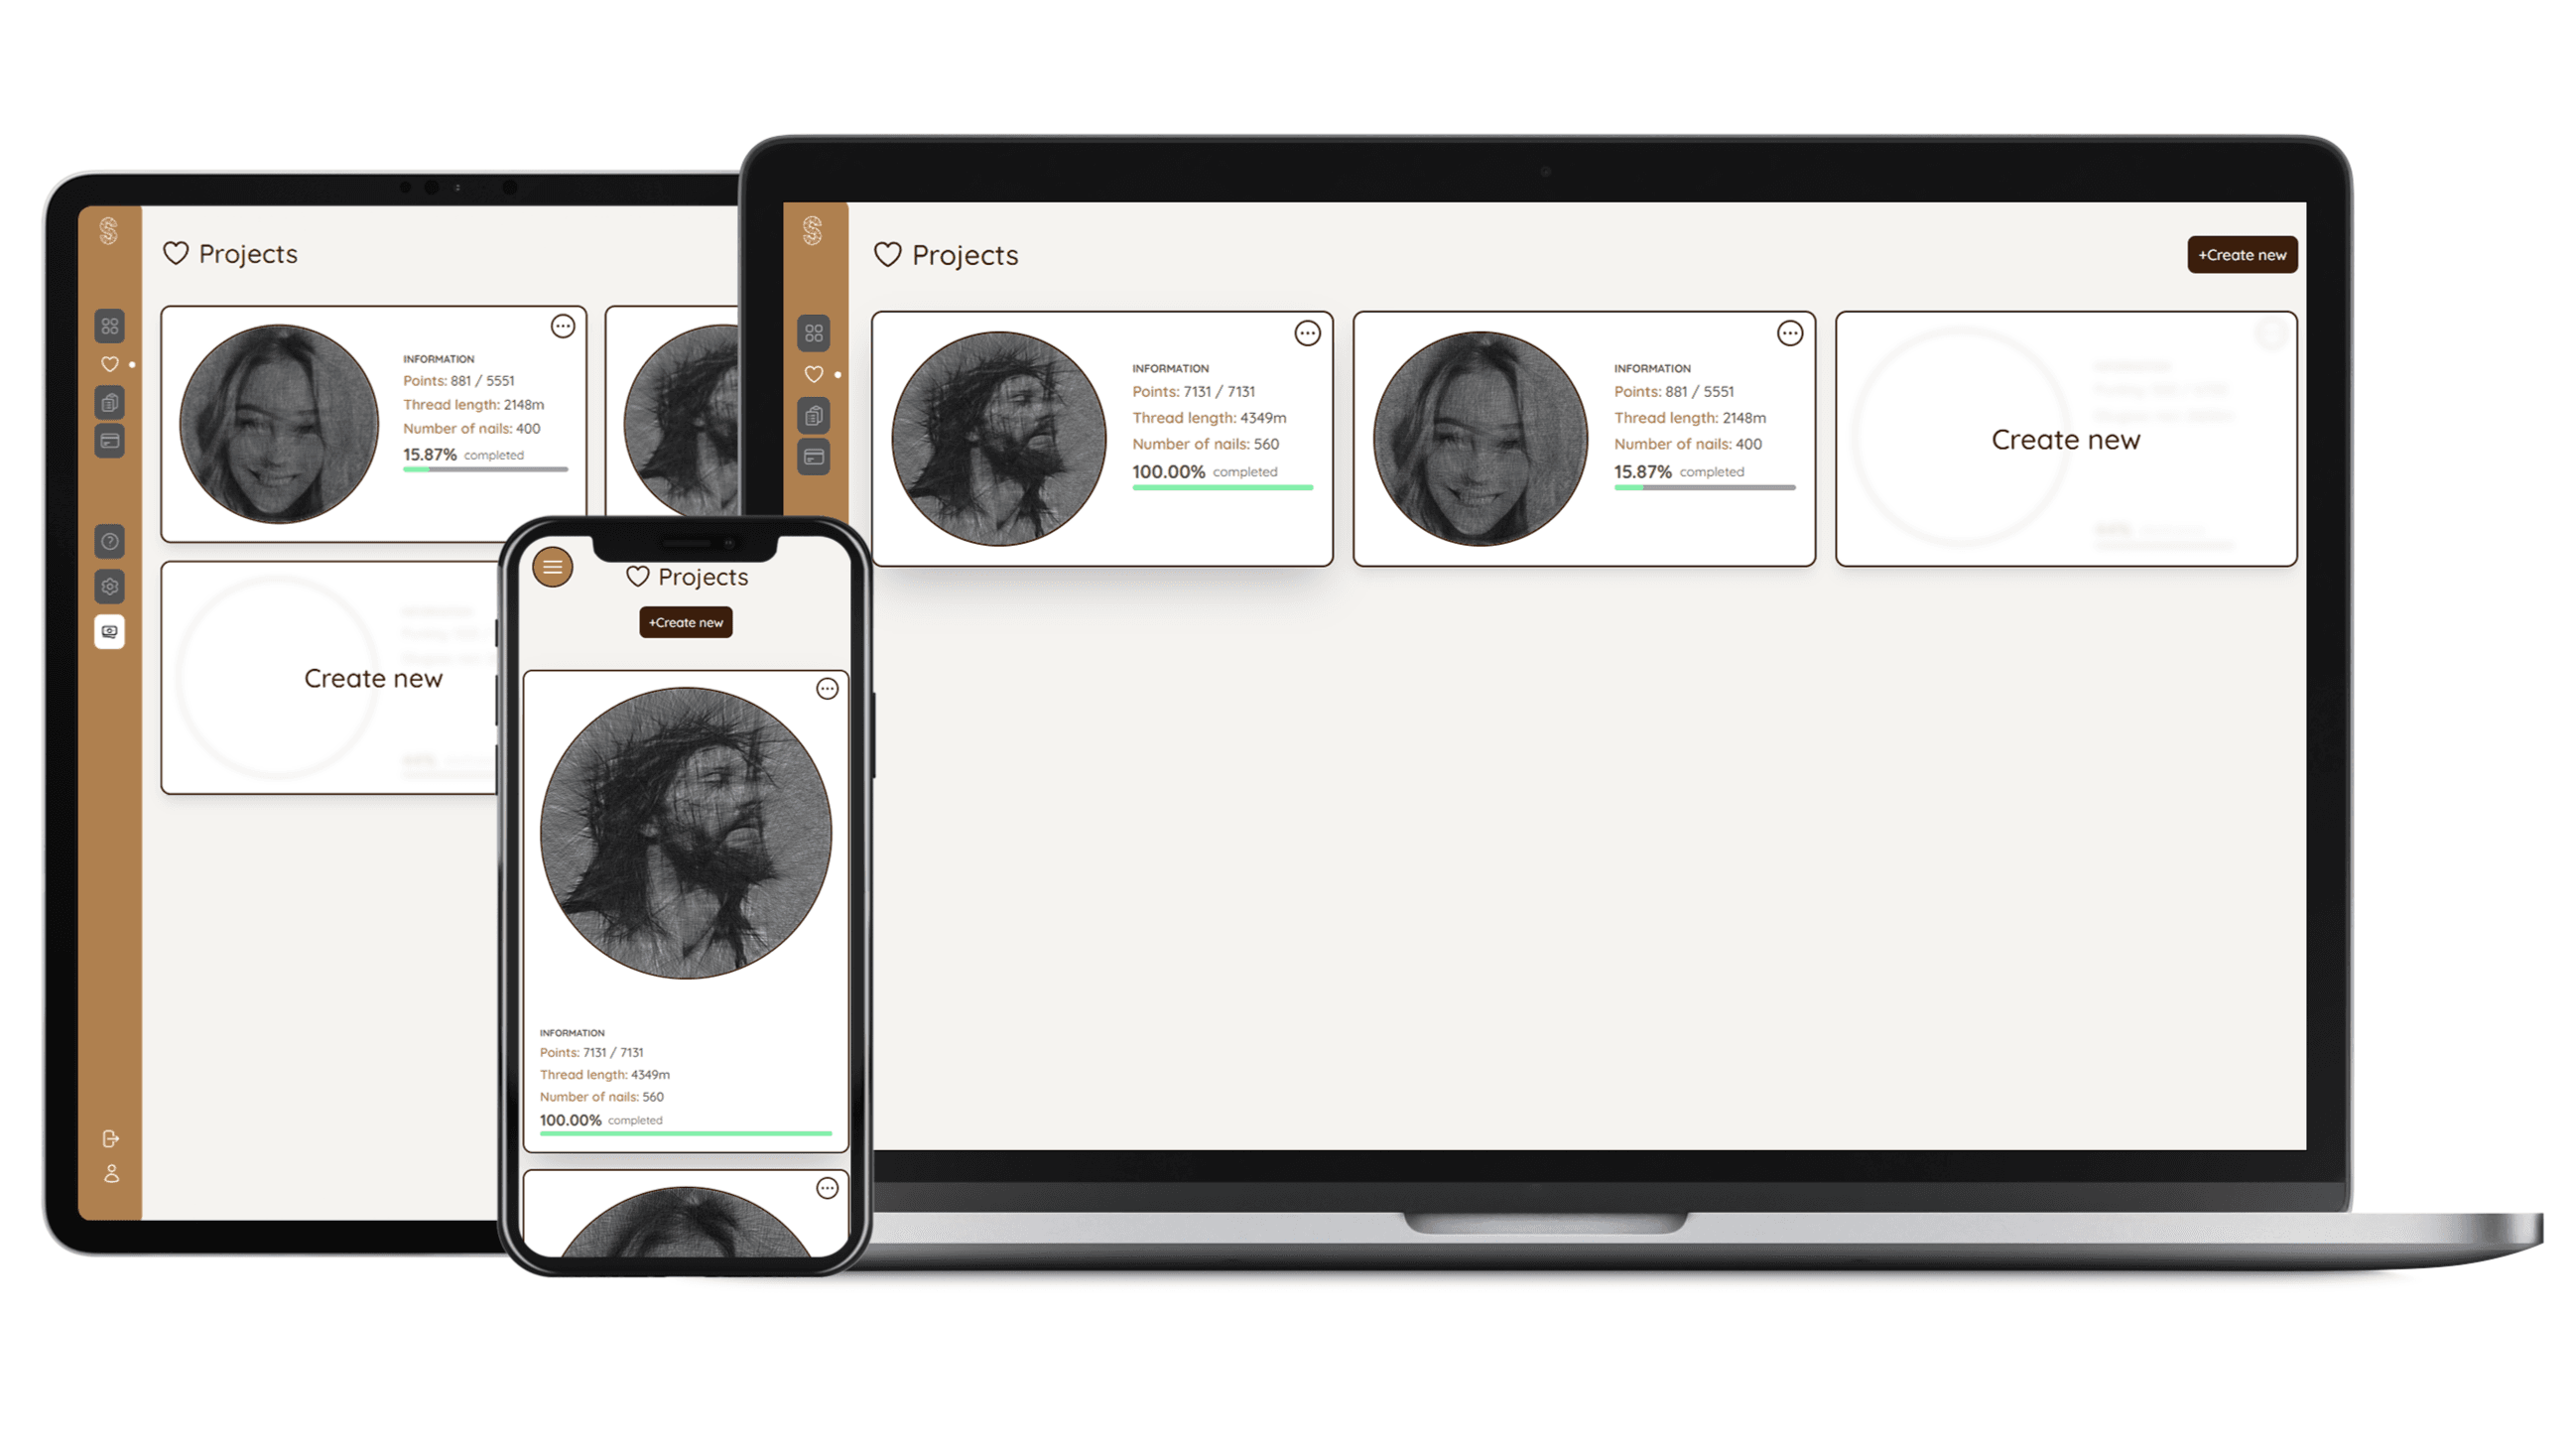
It is easiest to refine the photo and settings on a larger screen. While winding, open the instructions on a phone placed beside the base.
There is no software to install. Everything runs in the browser, so you can choose the device that suits each stage.
Didn't find your answer?
Write to us we usually reply within one business day.